Posts

Showing posts from February, 2020

Rhinoceros 3D simulation Pothole

Image
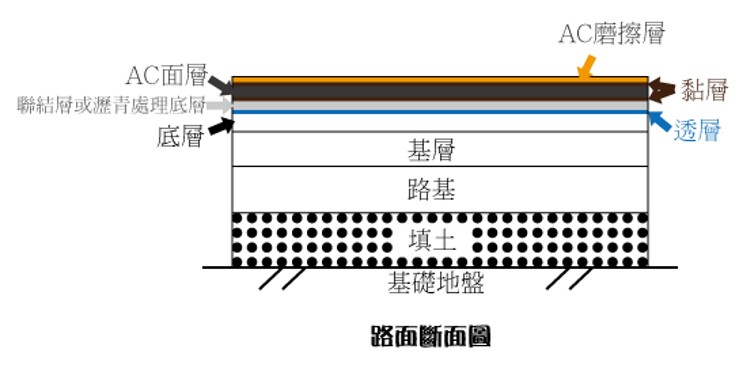
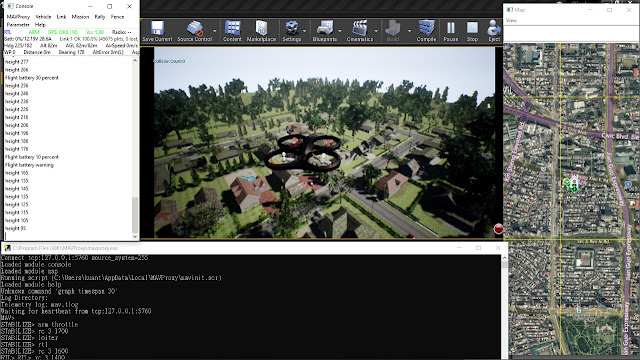
這篇主旨在於使用3D立體模型軟體來製作坑洞,從而獲得大量坑洞資料,減少人工採集資料的時間。 以下會依序介紹路面剖析、模擬坑洞等等。 路面分層 路面坑洞常見形成方式,是在 密集配瀝青混泥土層破裂 從而導致路面塌陷形成坑洞。 路面分層詳細介紹 柏油路上坑洞形成四大種類 道路寬度 快速道路者,不得小於3.2公尺 於主要道路及次要道路者,不得小於三公尺 於服務道路者,不得小於2.8公尺 坑洞設計 使用Rhinoceros 3D來模擬坑洞形成 簡介:Rhinoceros 3D是一套專業的3D立體模型製作軟體,簡稱Rhino3D 下載點: https://drive.google.com/open?id=1aYolSV0hTTM-Y1m-cMgPCc61cIBPqJ1p 解壓縮:rhinoceros67chs.rar 出現畫面,並選取紅框中安裝 安裝完後,不要啟動,回到原先壓縮檔位置,選取紅框 將紅框檔案移動到,Rhino 6 安裝檔案位置,後可啟動 啟動畫面,在 Command 輸入 Grasshopper,按下 enter Grasshopper 畫面啟動,點選 File,選取紅框 選取檔案 檔案下載點: https://drive.google.com/file/d/1tT3k-_CUdNnEdOCiXDVUaYFr9AMMHeMx/view?usp=sharing 坑洞生成,選取紅框按滑鼠中鍵 點選 Bake 回到 Rhino 畫面,坑洞形成 存檔(存檔位置自行選擇),檔案類型選擇 Rhino 6 3D Models(*.3dm) 坑洞形成概念 先在一個方格內隨機佈點 框出點的範圍隨機分布 A 點為圓心,B 點為框裡面的隨機點分布,以 AB 畫出向量 劃出坑洞邊界 邊界向下延伸,形成柱體

ArduPilot Software-In-The-Loop (SITL), MavLink, and AirSim

Image
In this article, I would like to share my experience of setting up ArduPilot SITL running with AirSim using Cygwin on Windows. The result is shown in the picture below. I hope this post can be complementary to the original AirSim SITL tutorial Using SITL with AirSim . First of all, let's see the architecture of AirSim SITL: The red block represents SITL, which connects to physics simulator (blue block), which is AirSim, and a Ground Control System (GCS), which is MAVProxy in our case. So we will run three programs that communicates with each other through TCP/IP.  Now we are ready to run the simulation. The major steps are listed below: Git clone ArduPilot and build it under Cygwin. You can follow ArduPilot tutorial ( link ) or see my summary at the section ( Run SITL using Cygwin ). Install Unreal and git clone AirSim and build it, OR  download pre-built AirSim precompiled binaries ( link ) Edit “Documents\AirSim\settings.json”, note the default folder is your Win